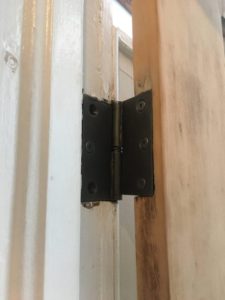
Welcome to the second part of this rescue mission/restoration project to save the first of several original doors buried under layers of paint. (Read Part One: Removing Paint). I chose the unsightly bathroom door that’s paint warped panel detail and hid hinges as my first attempt at stripping paint. Thanks to Dumond’s SmartStrip, a lot of elbow grease, and a deep determination to prove that there was beauty buried under all that paint, the door’s pine wood was exposed and ready to be brought back to life.
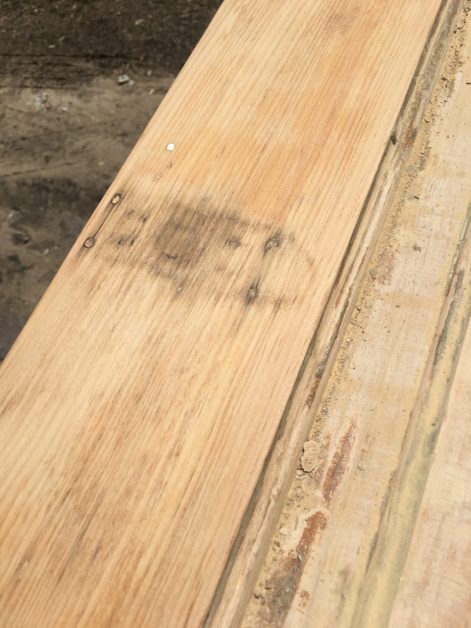
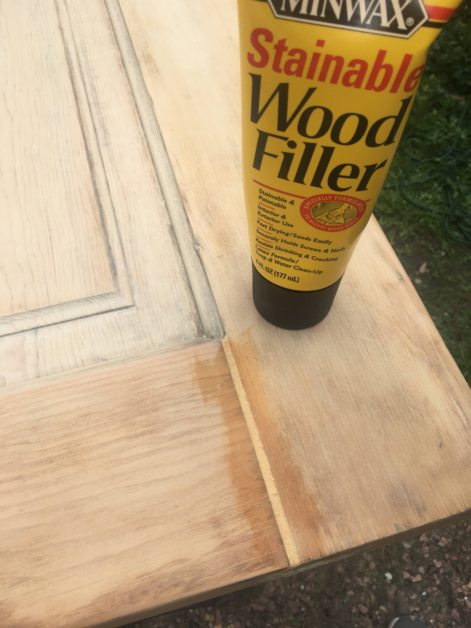
The naked wood shared hints to the door’s history from each bump, ding, and hole from door hooks and lock sets. I filled the most visible holes and gaps with a paintable/stainable wood filler (I used MinWax’s Stainable Wood Filler) and let it dry before sanding. It’s a pretty quick process and dries quickly.
Sanding
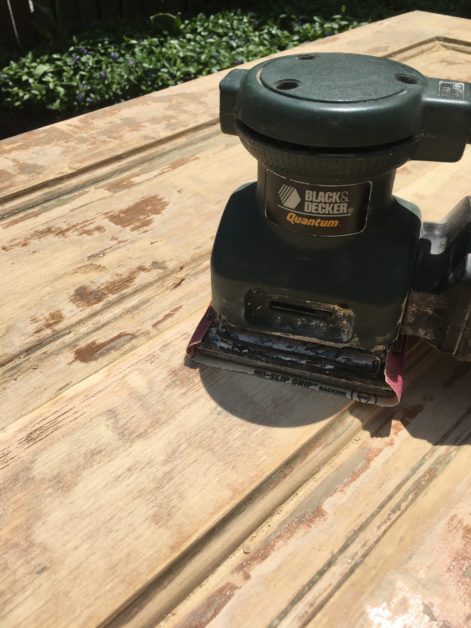
If you’ve never used a power tool before, a palm sander like this one is a great place to start, and you’ll soon see why power tools are so alluring. I’ve been using mine one for years because it is so much more efficient than sanding by hand. Unfortunately, a palm sander is ideal only on the flat planes of the door not the details like the panels. For those, I used folded quarter sheets of sandpaper along grooves, curves, and edges because it could be shaped to the contour as needed. It’s tedious work, but it’s worth the effort!
I began with a course 80 grit sandpaper to remove any residual paint before progressing to finer and finer grits and, to be safe, wore a ventilator face mask even though I was working outdoors. Typically, I wouldn’t recommend a course sandpaper on a soft wood like pine so I made sure to use lighter pressure to remove mostly the paint. From there, I did several rounds of sanding with finer and finer grits, using the palm sander on the flats and hand sanding the details. (The final sanding was with a 180 grit paper since I was using an oil based stain. Water based stains require going to 220.) When I was done, the ugly duckling door was on her way to becoming a swan.
Staining
Throughout the process, I wrestled with how to refinish this door knowing my choice would set precedent for the other doors throughout the house. From the first time we walked in to see the house, I envisioned a dark stain on the doors, but as I suspected, the door is pine which is a notoriously fickle absorbing stain so may not give a consistent finish. This door also had a surprise–a 2-3″ filler strip of wood had been added at the bottom of the door at some point in its life. What to do…
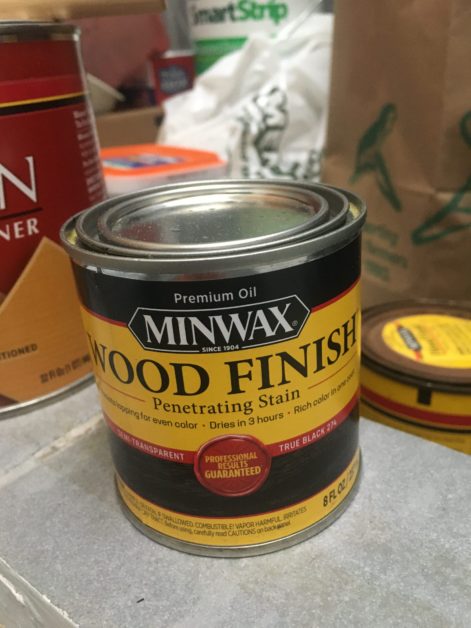
That’s when an idea came to me–what about staining the door black? Yes, black. It’s bold and classic and maybe a little unexpected and would offer balance with the light walls and wood floors and furniture. Best of all, black stain would be quite forgiving to cover up some of the doors’ overt visual misgivings. I really liked the juxtaposition of a restored vintage door boldly stained black with a black contemporary handle. (More on the hardware another time.) Admittedly, I had to let this idea sink in (a little stain pun), but it might even still show some of the grain. That was the plan anyway. Fingers crossed.
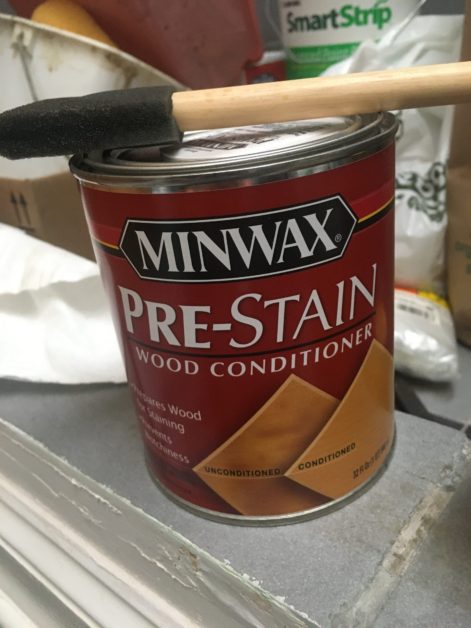
To promote the pine’s even absorption of the stain, I applied two coats of a pre-stain wood conditioner (like MinWax’s). Admittedly, I’m not sure if it’s needed with a dark color like black, but after doing so much work to remove the paint, I wasn’t willing to take the risk over a few dollars. It dries very quickly, too.
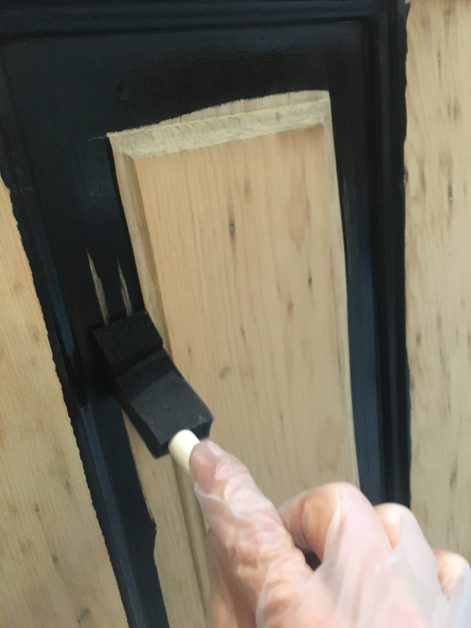
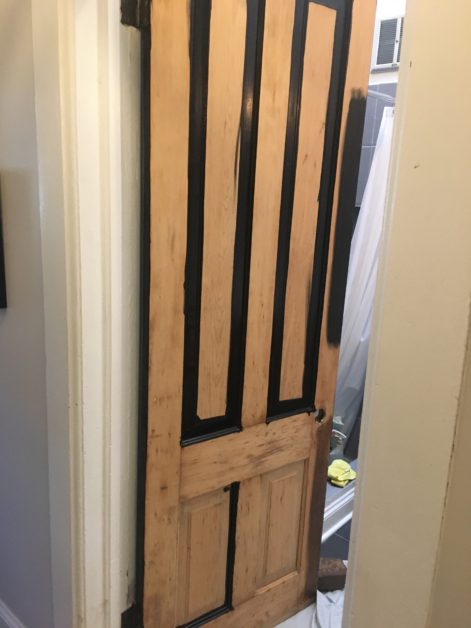
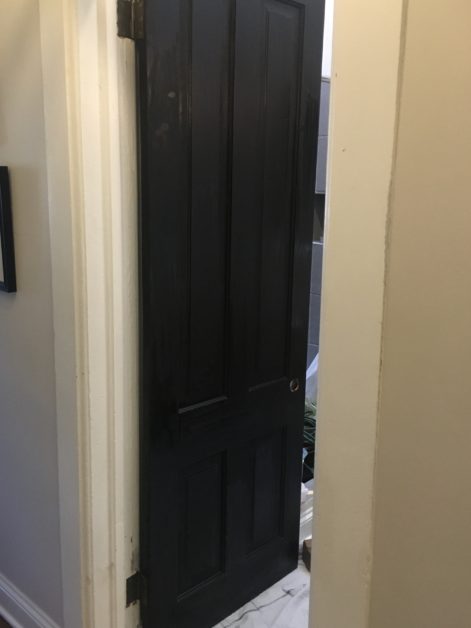
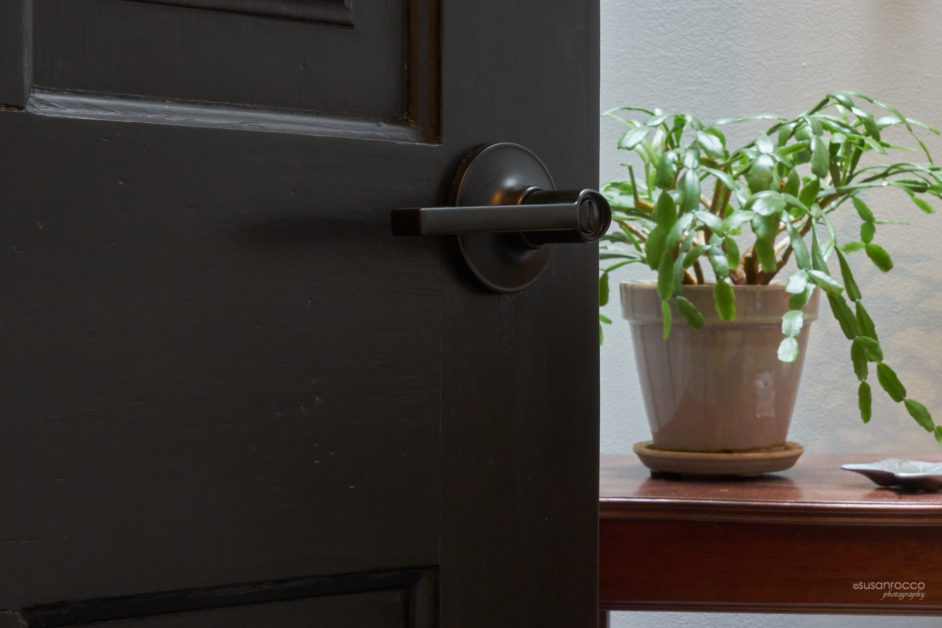
The moment of truth. I held my breath, dipped the sponge brush into the black stain…and brushed it on the door. My first impression was that it was really black. (Maybe MinWax named the stain True Black for a reason?) The door just sucked in all of the black stain. Despite how confident I am making a decision, I always seem to experience that moment of panic at first and think, “Oh, what have I done?” The thing is, it’s usually ahead of a grand transformation, and this was no exception. The black door was gorgeous, and best of all, it showed the promise of its new story in this house.
Ultimately, I wiped off the excess from the first coat after about 15 minutes and let it dry. I applied 2 more coats of black stain (lightly sanding and allowing dry time in between each, of course). After letting it dry for an extended while, I applied 3 coats of my favorite top coat, General Finishes’ High Performance Top Coat (flat finish).
The unfortunate thing about a black door is that it is challenging to capture how great it is in a photograph. But here goes…
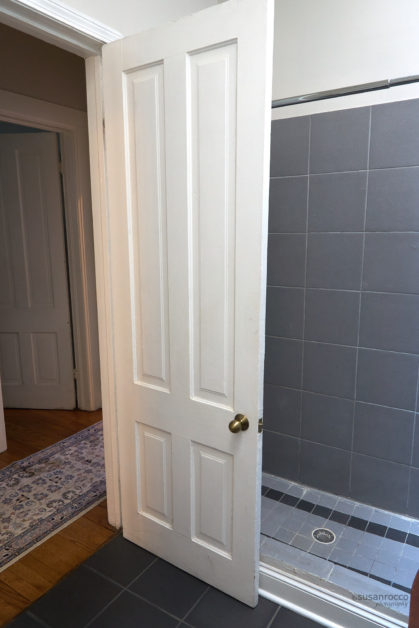
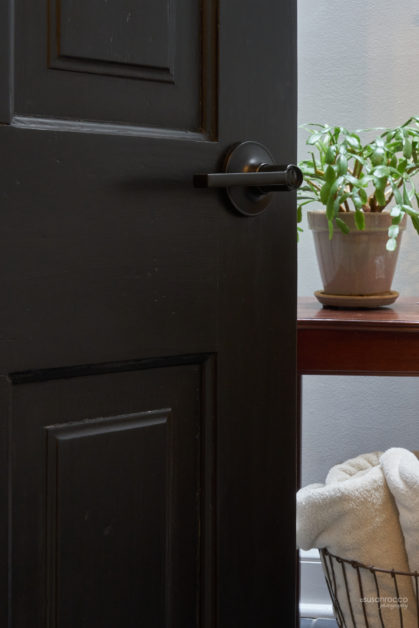
All that is left is the hardware (sneak peek in the photo, I suppose). That’ll be next!
5 Tips for Staining and Finishing
- Put down drop cloths, tape off hardware, and wear gloves when staining and wiping off excess stain. Stain is messy and can easily ruin absorbent surfaces.
- STIR stain, never shake. Shaking creates bubbles which can mar the finish.
- Use a pre-stain wood conditioner with soft woods like pine to encourage even absorption of the stain you apply.
- Using disposable brushes makes cleanup much easier. Wrap the brush in plastic wrap in between coats. Putting the wrapped brush in the refrigerator can further extend the dry time, too.
- While it can be tempting to only apply two coats of the top coat, take the time to apply the third coat. After all the work you’ve put it in, it’ll be worth it to finish and protect the project properly.