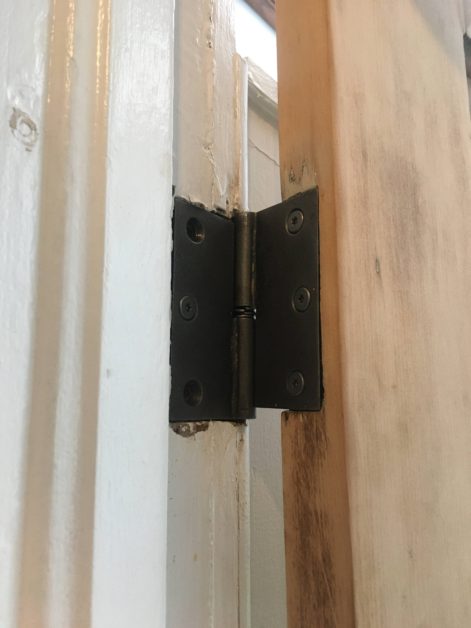
In addition to uncovering beautiful pine under many layers of paint (read Restoring Vintage Doors Part 1: Removing Paint), I also made the magnificent discovery that the door’s hinges are cast iron! Rather than having a separate pin like a lot of door hinges these days, these barrel hinges have an integrated pin on one hinge plate that its counterpart hinge plate’s knuckle fits onto (see the photo because may have been ‘clear as mud’). Of course, I didn’t realize the pin configuration until we took the door down, hinges and all–a lesson I’ll share shortly. The saying, ‘they don’t make things like they used to,’ is fitting for this discovery because they just don’t. These were such an incredible discovery.
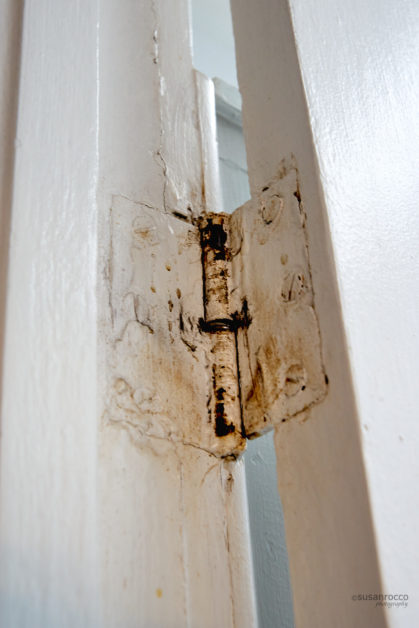
When I first started, the hinges were so heavily caked with paint that I literally had to chisel paint away to get to the screws, and it took some work to get the the doors down. Here’s where I made life a little harder. Instead of simply taking the hinge apart, I took the hinge plates completely off both the door and frame. (At this point, I didn’t realize the pin was integrated.) While having the hinge plates off the wood made them easier to clean, it made rehanging the door much more challenging because things never go together the same way.
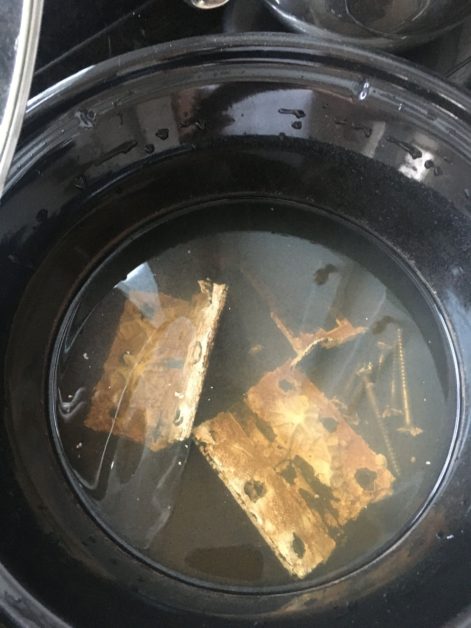
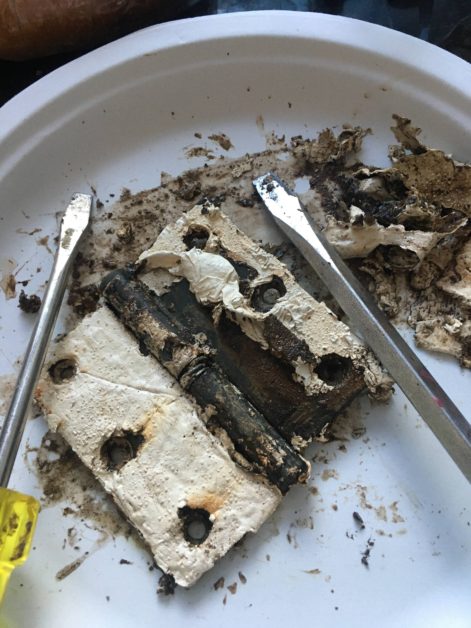
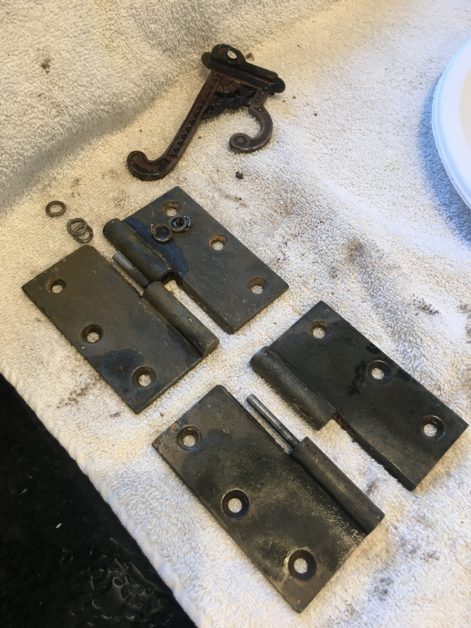
After removing the hinges, I ‘cooked’ them in a crockpot for a few hours to soften the paint and then used a screwdriver to scrape most of it off pretty easily. An old toothbrush and toothpick worked well to get residual paint out of the nooks and crannies while cotton swabs worked best to clean out the knuckles (the female side where the pin fits). Let me state what I hope is obvious–this is not a job for the crock pot you cook with in your kitchen. Rather, use one you find at a thrift store or garage sale for a few dollars. Dinner will taste better.
There is a very important last step. Since the hinges are cast iron, they require a light coat of oil to prevent them from rusting. I applied a light coat of mineral oil as a protective surface and put some WD-40 in the knuckle to lubricate it and to prevent rust.
Door Handle Selection
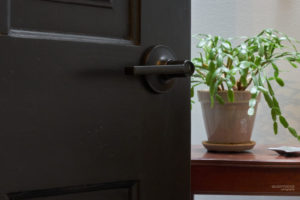
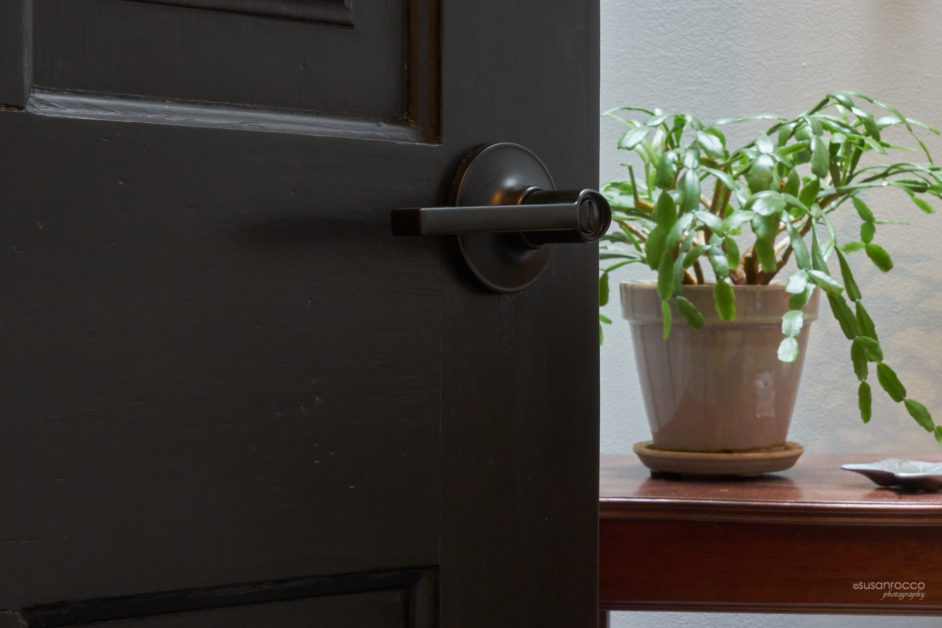
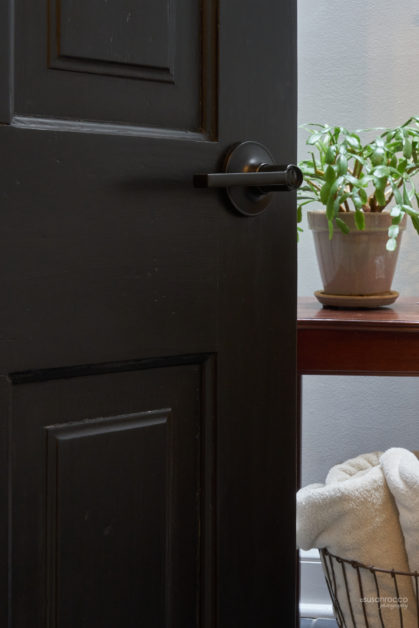
There was no question that I wanted to reuse the cast iron hinges so I decided I wanted a door handle in matte black. A brushed brass was a close second choice to continue with a very classic look. However, I liked that a black handle kept the door and its hardware monochromatic, adding to the juxtaposition between the vintage and contemporary. I also knew I wanted handle over knob and ultimately chose Schlage’s Solstice Lever.
Interestingly, the hole for the door handle was well situated in the door despite being a tad low for our tall family. Since our family is ‘height gifted’ (all four of us are over 5’11”), we are definitely aware of a lower door handle but also appreciate that it’s part of the door’s history and charm. (Trivia: Did you know the average American height increased more than 3″ between 1880 and 1980?)
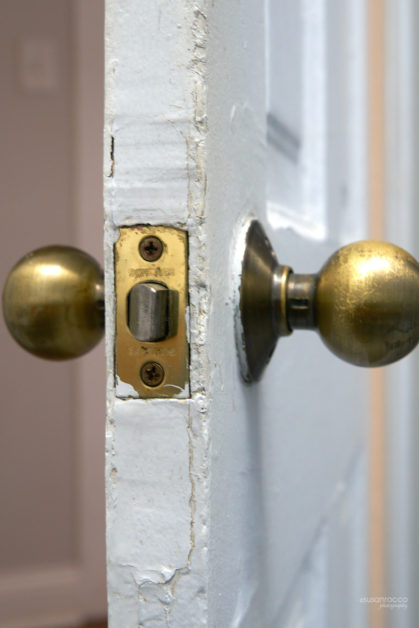
The installation of the door handle was a bit tricky because of the size of the new latch assembly. The door originally had a mortise lock which left a much larger cavity than what is needed for a modern latch assembly. In the photo, you can see the outline of the patch was done at some point to accommodate an interim (1980s?) door knob and latch. When I removed the paint, however, the patch crumbled so I used a high performance wood filler (similar here) to fill in the cavity, leaving a roughly sized space for the new latch assembly.
I found a neat little gadget to make installing the door handle so much easier! (similar here) Basically, this contraption (called a jig) attaches to the door and becomes the guide for drilling both the door handle and/or the latch assembly hole with the appropriately sized hole saws (included with the kit) It’s brilliant! Simply attach the jig to the door, drill the holes, chisel out the recess for the latch plate, and I was ready to assemble. I swapped out the strike plate on the door frame, and my family was back to civilization. Actually, not yet. The brick we had been using to hold the door closed was returned to the brick pile in the backyard.
A New Hook is the Final Detail
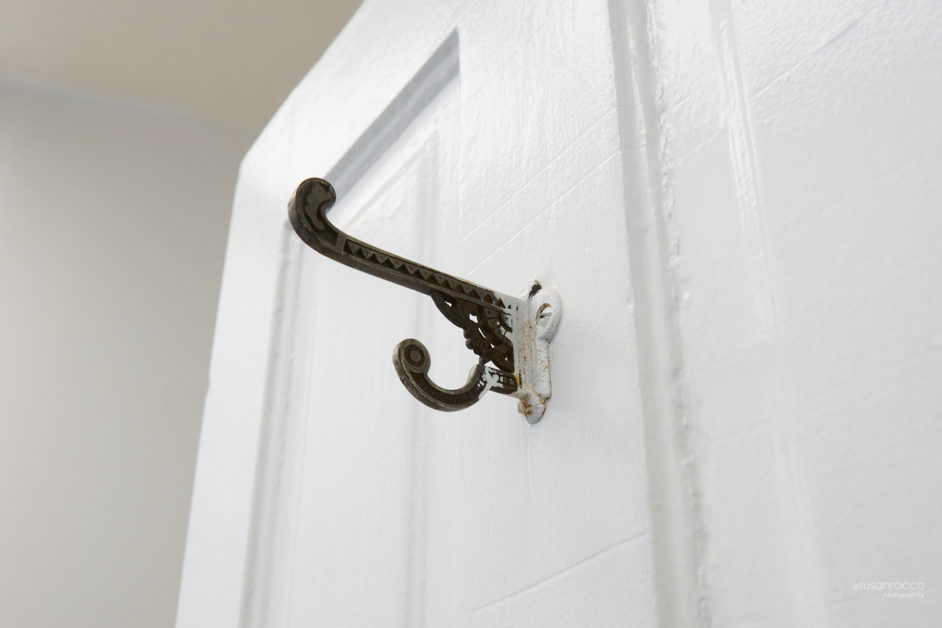
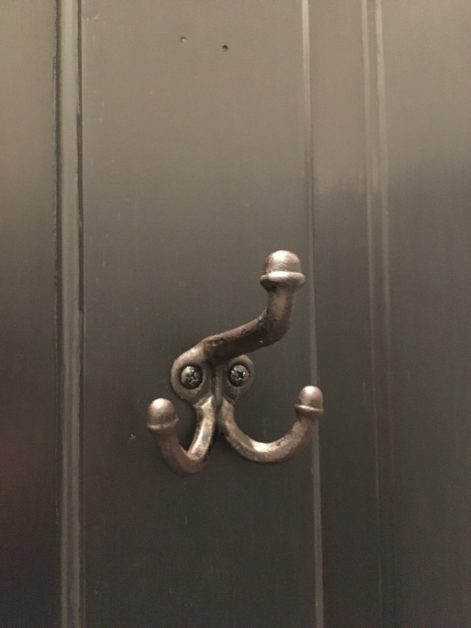
The final touch to this door restoration replacing the door hook that was on the back side of the door. I love scrounging around at local salvage stores, and I had found a cast iron door hook to match the hinges. It only required a light cleanup so I submerged it in boiling water for 15 minutes or so and scrubbed the little bit of paint off. Once it cooled, I applied a thin coat of the mineral oil, wiped off the access, and screwed it onto the door. It was the perfect touch. One door down!
1 door down, and 3 doors left to strip and stain; 2 to sand and stain; and 3 exterior door to strip and paint…
But 1 door is done! To those who thought I was on a mission, I was. This was definitely a labor of love, and I am excited to keep this door a part of this house and our home. After all, they just don’t make them like they used to, do they? Best of all, this door can add our stories to its collection.