Restoring a Vintage Wood Door Part 1:  Removing Paint

Restoring a Vintage Wood Door Part 1: Removing Paint

I adore the old doors scattered throughout this house.  They say, “you never know what goes on behind closed doors,” so I’d bet these doors have a plethora of ear tingling stories to tell after almost 145 years.  Aren’t you just a tad curious?  Me, too!  If only these old doors could talk…

Our house has six (6) ‘original’ interior doors (excluding the living room/parlor’s oversized hinged and pocket doors) that I want to restore and eventually incorporate in our remodel.  Four of these doors match the style of the large doors in the living room with elaborate, heavily profiled panels.  The remaining two doors have panels with a much simpler profile and currently are to less formal rooms at back of the house.  All of the doors are probably made of pine which was a wood commonly used for interior doors during the 1870s in Chicago.   Unfortunately, layer upon layer of paint was added over the years to the point that the edges of the once distinct panels have lost their detail.  Basically, the doors are an eyesore and a constant reminder of the neglect and cover ups they’ve endured.  I smelled a rescue mission. 

Selecting a Paint Remover

The door to the first floor bathroom was in the worst shape so was a logical place to begin–or more accurately,  to experiment.  Numerous layers of paint combined with the bathroom’s humidity made for an irregular, lumpy surface and discolored, encumbered hinges.  Whatever I would try, I really couldn’t make things much worse!

I have restored numerous pieces of furniture in the past, but each time I used a sander to remove the finish.  Sanding wasn’t a safe option so I needed a paint remover for two reasons:  there are too many layers of paint, and more importantly, the likelihood that lead paint was used at some point was a strong possibility.  (Any house built before 1978 more than likely has lead paint.)  Finding the most effective paint stripper for this door was the trick.

Enter Lady Luck who graciously led me to the  House of Brinson post, How to Strip Paint From Doors, that detailed Will and Susan Brinson’s experience (and success!) using Dumond paint remover and offered hope that my rescue mission had a chance.  It seemed like a logical place to start.  (On a side note, I love how confident it all sounds in hindsight.  Truth is, I had no idea what I was getting into or if all this effort simply was going to uncover a hopeless mess.  Either way, I simply had to put a stake in the ground, take a deep breath, and jump in.)

Hands creating blue tape squares on painted door

I started by ordering Dumond’s test kit to determine which of the company’s paint stripping products would remove the door’s paint most effectively.  The kit includes test size containers of three of the company’s paint removal products and the basic supplies you need to do the test.  Trust me–the investment you make in time (and money) finding the right paint remover can save you time (and money) on the backend.  This is a solid first step in the right direction.

The instructions that come with the kit are pretty clear.  Although you only test in small patches, it was still a bit messy since I was testing on a hanging door so I put down a drop cloth and wore gloves when working with the product.  I taped off a three sectioned grid (flat sections are easiest), applied the product, and covered it with the Dumond paper as recommended.  Then I waited.  (TIP:  Be sure to label what product you are using in each section!)  


Hands scraping paint from one of three test patches on painted bath door

After waiting for the appropriate amount of time, it was time to see what happened.  Despite my hopes that one of the products miraculously would clean off all of the paint and save me hours of scraping, it didn’t happen that way.  While some layers of paint easily came off, others were pretty stubborn.  It wasn’t immediately obvious which worked the best on my door because there were so many layers of paint, and I couldn’t tell what was what!  In the end, I chose the SmartStrip (far right in the photo) for two reasons:  upon closer inspection, the SmartStrip actually removed more layers, and I liked that the SmartStrip is ph neutral and doesn’t require a neutralizer, a bonus because the savings offsets the product’s higher price.  (Read the SmartStripTech Sheet HERE.)

8 Lessons Learned Removing Paint from an Old Wood Door

After deciding on the paint removing product, the larger project was just that–a larger scale version of the testing process (without the taping).  I worked outdoors knowing it was going to be a messy job.  Here are the lessons I learned that will make stripping paint efforts more efficient and effective:

LESSON 1:  As with any project, take the time to properly prep.   It’s a messy, messy project.  Wear gloves and old clothes; cover the ground with a disposable plastic tarp for easier cleanup; and keep a garbage bag open nearby for the paint goop you remove.  After trying a few different scrapers, I primarily used two scrapers and often scraped one with the other to keep the edges clean.  

LESSON 2:  Leave hinges on the door and door frame, if possible.  If you are able to take the door down leaving each hinge half still screwed to the door and frame, you may save a bundle of frustration when you rehang the door.  (This lesson learned is dedicated to my husband because I removed all of the hardware.)  The good news is that the paint remover will work on the hinge paint, too.  

LESSON 3:  Apply the SmartStrip more liberally, if needed.  Even though the instructions say to apply ⅛” to ¼”, I discovered that ¼” to ½” worked much more dependably given the 8 or so layers of paint I was trying to remove.

LESSON 4:  Use plastic wrap to cover the door.  Though I first used up the rest of the Dumond paper from the test kit, I found that plastic wrap works just as well and allows you to see the remover’s progress.

LESSON 5:  Environmental factors may alter your work time.  Keep an eye on the stripper’s progress because outside conditions (sun, heat, shade, etc.) will affect your working time.  With proper coverage and the heat of the summer sun, I waited only a few hours because the sun helped the stripper do it’s magic.  Conversely, the heat can also dry the stripper out faster so keep an eye on the progress!

Gloved hand scraping paint off wood door

LESSON 6:  Keep areas covered that you are not working on.  This is crucial!  Working efficiently is important so that the product doesn’t dry out.  Environmental factors will play a role here, too.  Work in manageable patches until you are able to get your rhythm and technique down.  

Woman scraping paint from panel on vintage door

LESSON 7:  Used carefully, metal scrapers can offer more muscle.  Despite recommendations against using them, I found metal scrapers more efficient for scraping the multiple, more difficult, stickier layers off.  While you must be extremely careful because they can easily gouge the wood, the metal scraper’s sturdiness did a much better job on stubborn patches.  

SmartStrip bucket and supplies on wrapped vintage door to strip paint outdoors

LESSON 8:  It’s tedious work.  Even though the product does a lot of the work for you, it was challenging to get the corners (the metal scraper helped).  Don’t be afraid to go apply another round.  I did 4 rounds of paint remover in spots because in some areas the paint put up more of a fight. 

The Final Result: A Clean Door!

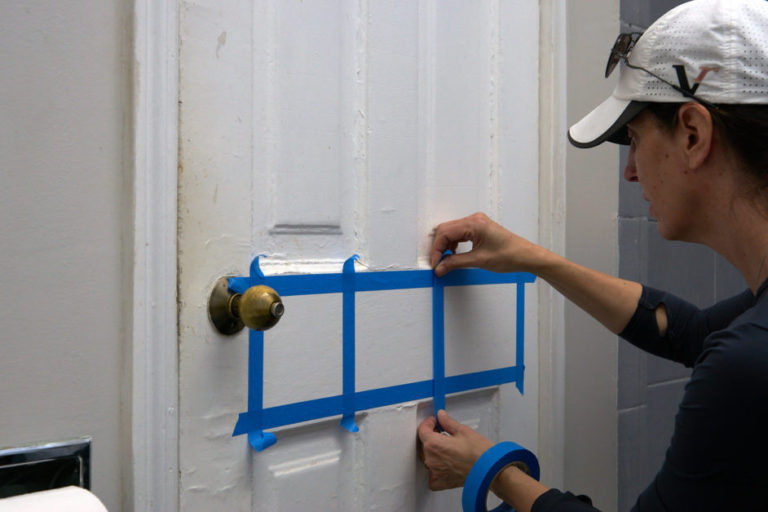
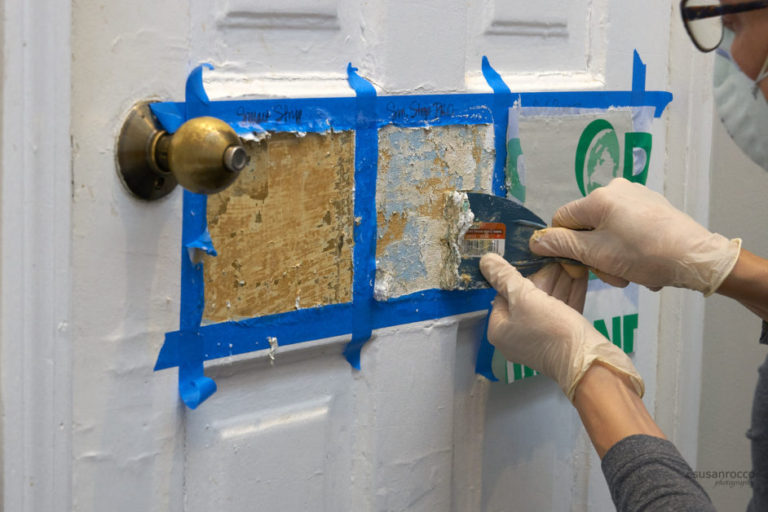
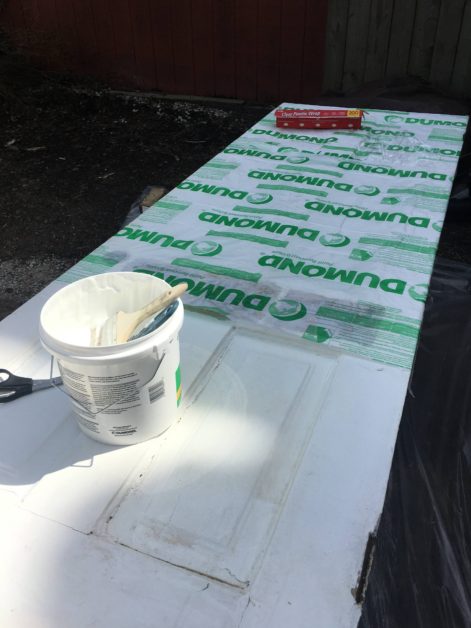
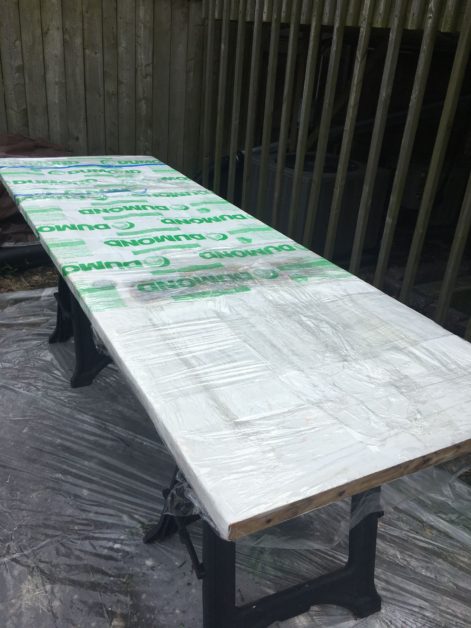
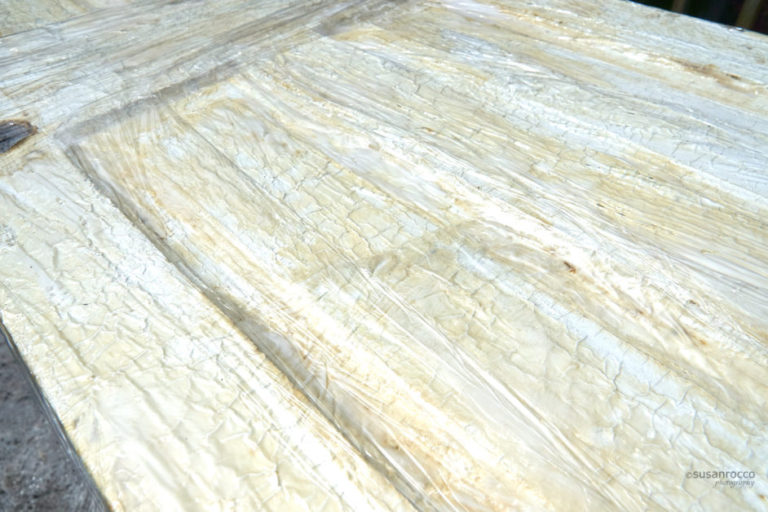
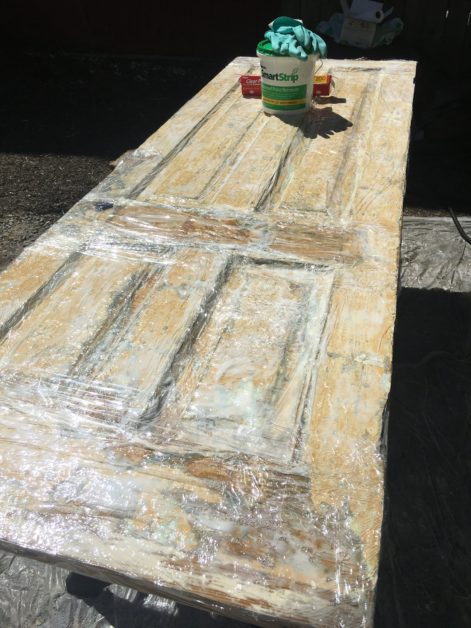
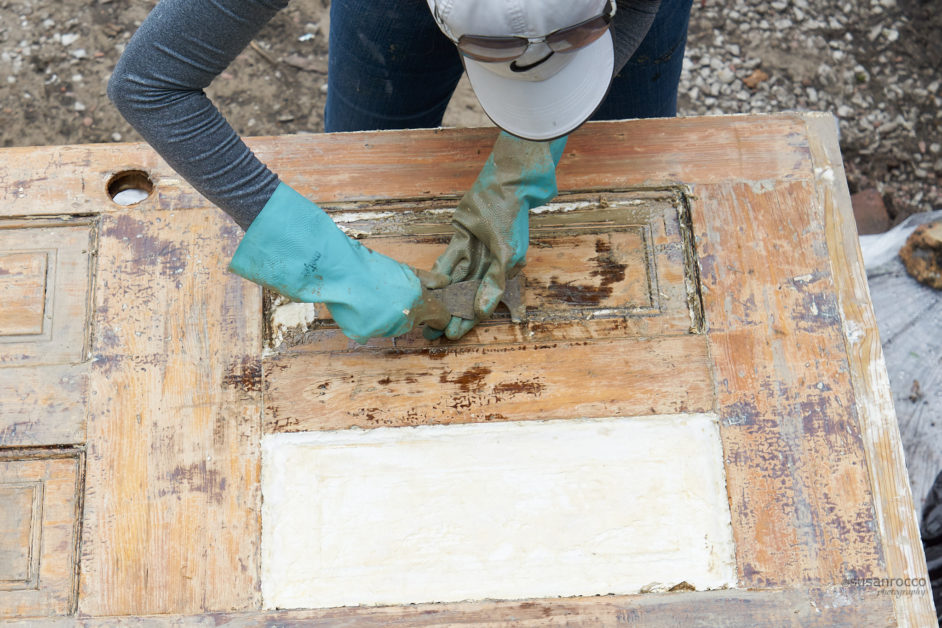
What a difference!  Three (3) rounds with the paint stripper and a touchup 4th round here and there finally got the paint off of this side of the door.  There is no way around it, stripping paint from an old door (or anything else for that matter) is a lot of work.  Admittedly, I was able to work much more efficiently on the reverse side taking into account my lessons learned and got the paint off with only 2 rounds.  

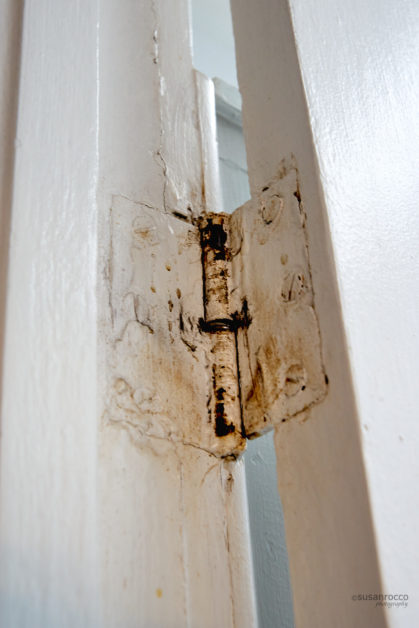
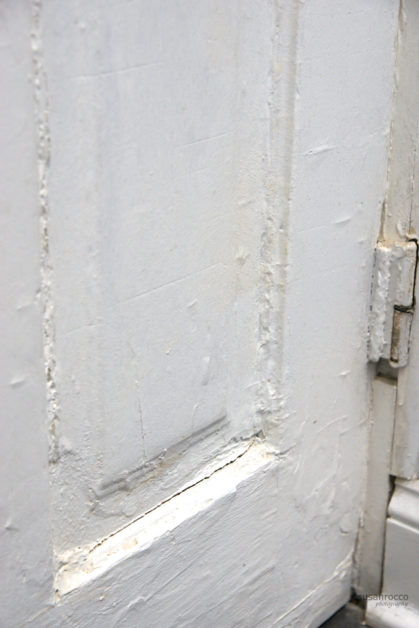
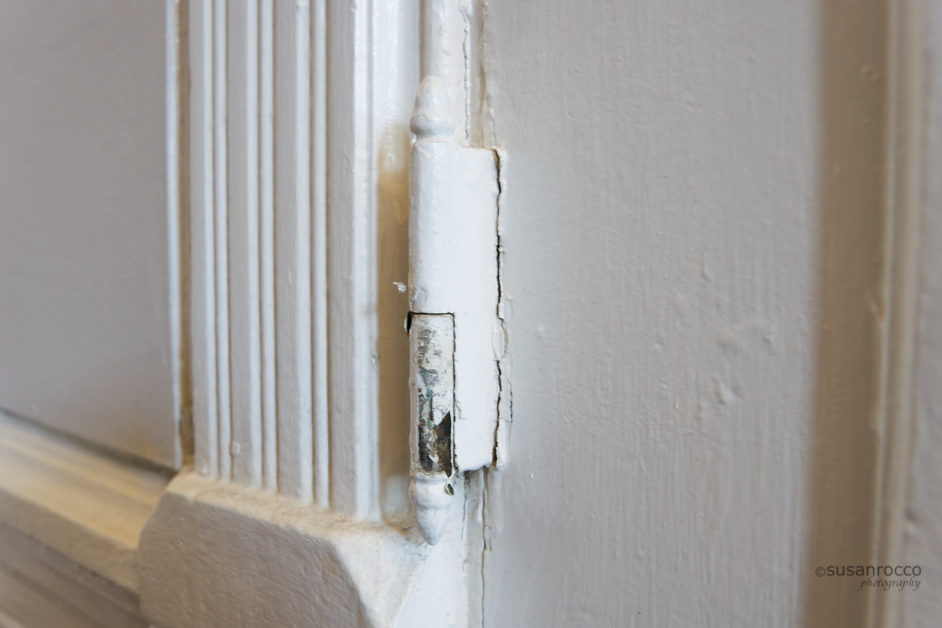
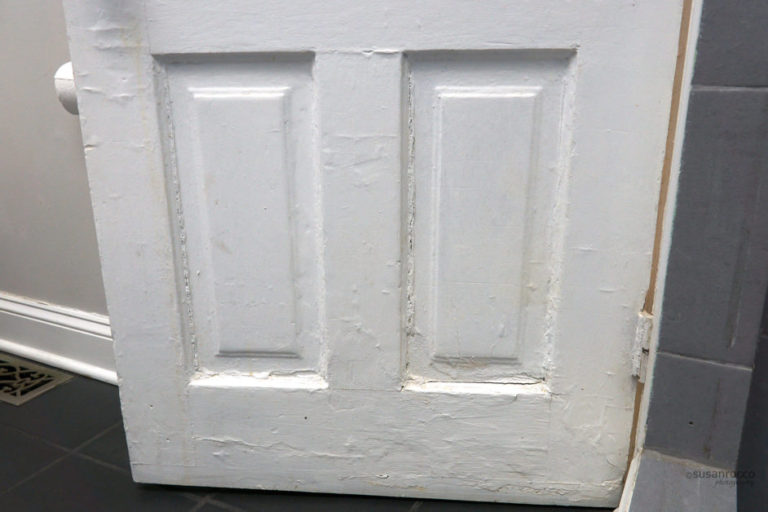
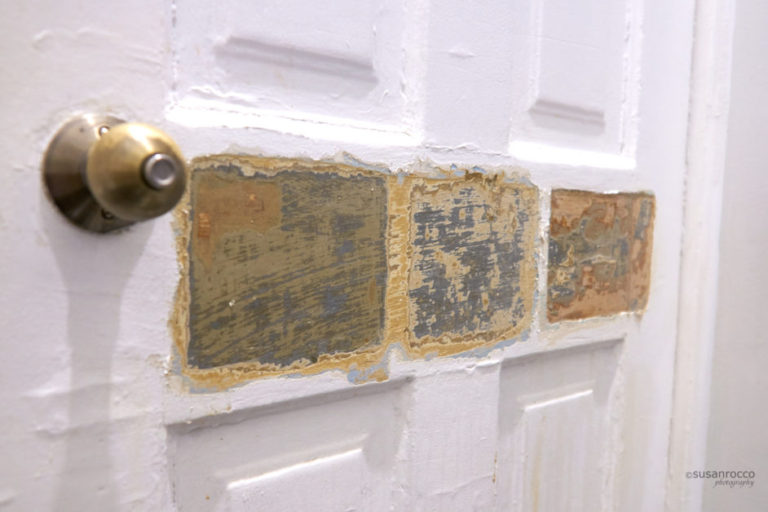
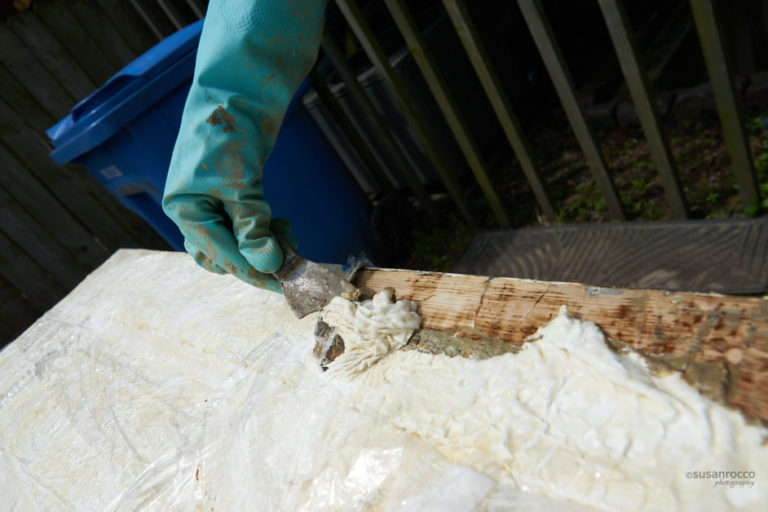
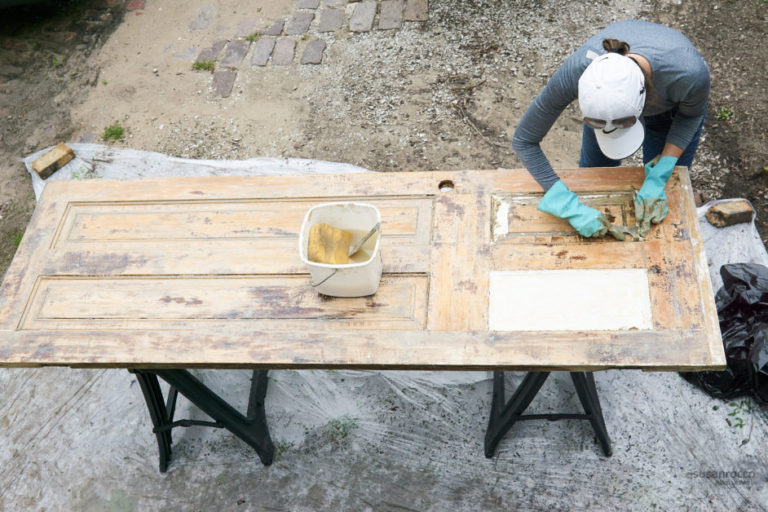
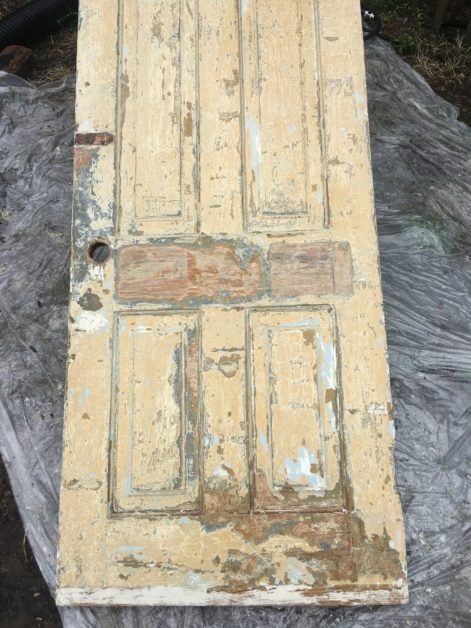
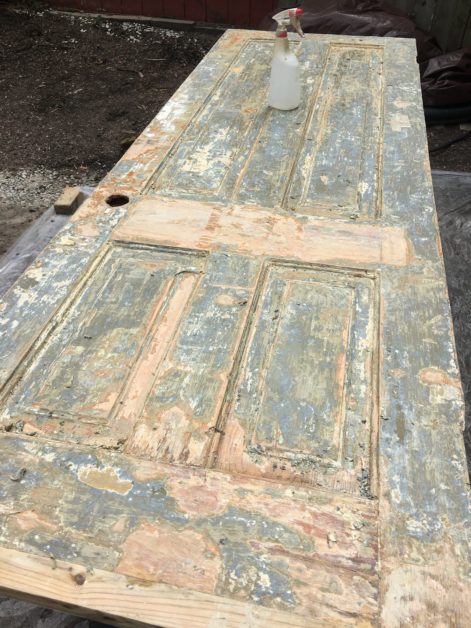
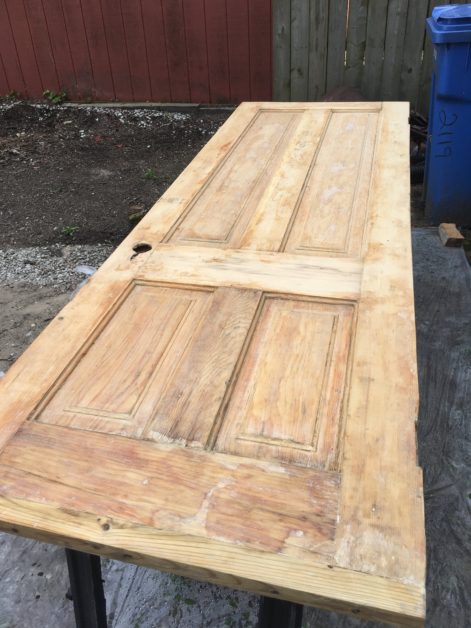
The exceptionally good news is I can tell that this ‘rescue mission’ is going to be worth the effort.  The door is pine, as I suspected, and is in good shape overall except for some holes and gaps that a bit of wood filler can easily remedy.  Interestingly, the door was modified at some point by adding a 3″ strip along the bottom.  I’ll need to take that into account when thinking about the door’s final finish.  These things aside, this door and its secrets are on their way to being a part of this house for years to come.  

This door’s restoration has only begun.  There’s more transformation ahead so stay tuned!


Old painted wood door after paint remover

Leave a Reply